Ever wondered about the magic you can create by melting beeswax pellets with honey? This guide will illuminate the how and why of this simple process, opening a world of DIY possibilities, from luscious lip balms and creamy hand lotions to naturally scented candles. Whether you’re a seasoned DIY enthusiast or just starting out, we’ll guide you every step of the way.
Why Beeswax and Honey? A Synergistic Duo
Beeswax and honey are a match made in nature. Beeswax, a natural protectant, forms a barrier that locks in moisture. Honey, a humectant, draws moisture from the air, keeping skin hydrated and supple. Together, they create a powerhouse of natural goodness, perfect for a variety of DIY projects. Some research even suggests that raw honey offers additional antioxidant and antibacterial properties, though ongoing research continues to explore the full extent of these benefits.
Beyond skincare, beeswax and honey blends create beautifully scented, naturally burning candles. The beeswax provides structure and a clean burn, while a touch of honey (or honey fragrance oil) adds a subtle sweetness to the air.
Gathering Your Supplies
Before we begin, let’s assemble our tools. It’s like preparing a baker’s mise en place, but for crafting:
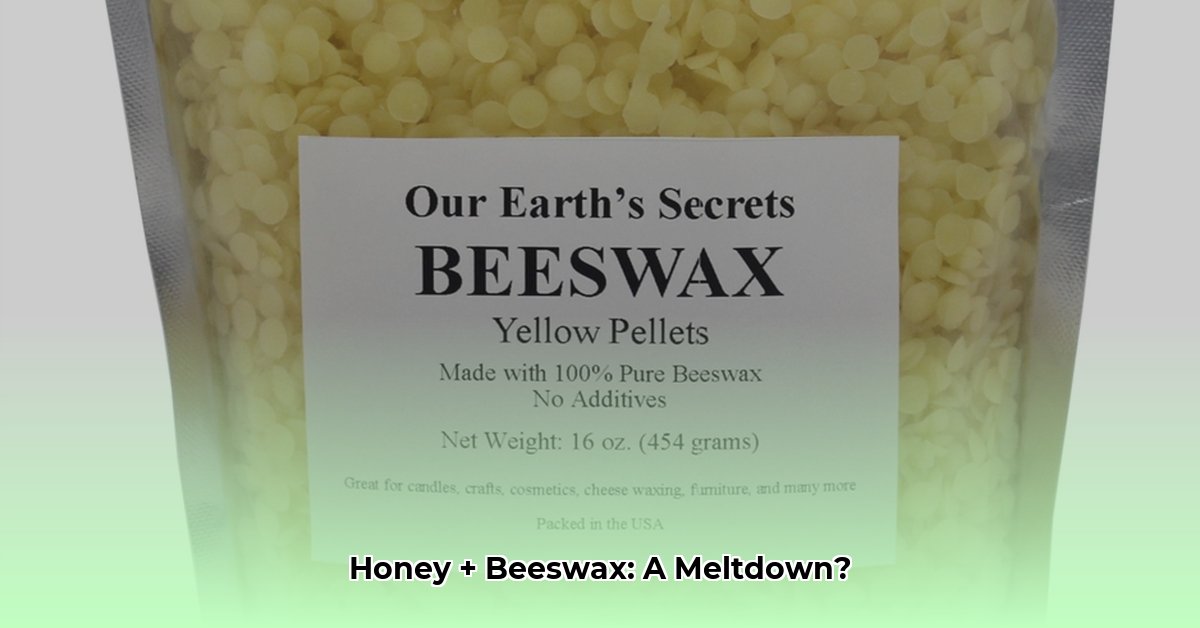
Beeswax Pellets: These melt smoothly and evenly, making them ideal for DIY projects.
Honey: Raw, local honey is often preferred for its potential added benefits, but any honey will work.
Double Boiler: This ensures gentle, even melting. A heat-safe bowl placed over a simmering pot of water works just as well (a makeshift double boiler).
Heat-Resistant Stirring Utensil: A wooden spoon, silicone spatula, or heat-safe whisk will do.
Containers: Small jars, tins, or molds for your finished creations.
Optional Add-ins: Essential oils for fragrance, natural colorants, or other enriching ingredients like shea butter or vitamin E. (Always research any new ingredient before adding it, especially if you have allergies.)
Melting Beeswax with Honey: A Step-by-Step Guide
Prepare the Double Boiler: Fill the bottom portion of your double boiler (or saucepan) with a few inches of water and bring to a gentle simmer. Low and slow heat prevents scorching.
Melt the Beeswax: Place the beeswax pellets in the top portion of the double boiler (or heat-safe bowl). Stir occasionally until they melt into a smooth, golden liquid.
Incorporate the Honey: Once the beeswax is fully melted, slowly drizzle in the honey while stirring constantly. The ratio of beeswax to honey depends on the desired consistency:
Product
Beeswax : Honey Ratio
Why this ratio?
Lip Balm
2:1 or 3:1
Provides a firm base that holds its shape while still offering moisturizing benefits.
Hand Cream
1:1 or 1:1.5
A balanced blend for smooth application and lasting hydration.
Salve
1.5:1
A slightly firmer consistency, ideal for targeted application.
Candle
4:1 or higher
Ensures a solid candle that burns cleanly and holds its shape well.
Pour and Cool: Carefully pour the mixture into your prepared containers. Avoid spills, but if one occurs, warm, soapy water will usually clean it up. Allow the mixture to cool and harden completely. This can take several hours or overnight. Avoid disturbing the mixture during cooling for a smooth, professional finish.
DIY Recipes: Unleashing Your Creativity
Here are a few recipes to get you started:
Luscious Lip Balm
1 tablespoon beeswax pellets
1 tablespoon honey
5-7 drops of your favorite essential oil (optional)
Silky Smooth Hand Cream
2 tablespoons beeswax pellets
1 tablespoon honey
1 tablespoon melted coconut oil
5-10 drops of lavender or other essential oil (optional)
Naturally Scented Candles
4 tablespoons beeswax pellets
1 tablespoon honey (or honey fragrance oil)
Candle wicks
Jars or molds
(For candles, adding honey directly can cause sputtering. Honey fragrance oils provide a safer and more consistent result.)
Troubleshooting: Addressing Common Issues
Grainy Texture: Gently reheat and stir vigorously. This usually indicates incomplete emulsification.
Too Sticky: Reduce the amount of honey or add more beeswax in your next batch.
Burnt Smell: This indicates overheating. Ensure your double boiler setup is correct and maintain low heat.
Tips and Tricks for Beeswax Success
Ventilation: Beeswax can release fumes when melted, so work in a well-ventilated area.
Cleanup: Wipe up spills immediately with a paper towel while the beeswax is still warm. Soapy water can remove any stubborn residue.
Alternative Beeswax Forms: Beeswax blocks can be used, but grate them first for easier melting.
Experimentation: Don’t be afraid to adjust honey/beeswax ratios, add essential oils, or experiment with other natural ingredients!
Beyond the Basics: Ongoing Research
While the benefits of beeswax and honey in DIY projects are generally well-regarded, research continues to explore their properties and potential applications. For instance, some studies suggest that the composition of honey, influenced by its floral source and other environmental factors, can subtly affect its properties. Further research may shed more light on these nuances. This makes the world of beeswax and honey DIY all the more fascinating!
Conclusion: Embrace the Natural Wonders
Melting beeswax pellets with honey opens a door to a world of natural, handcrafted creations. With a little practice and a touch of creativity, you can easily craft personalized lip balms, hand creams, candles, and more. So, gather your supplies, embrace the process, and enjoy the fruits of your labor!
I am a writer specializing in health and lifestyle, committed to delivering well-researched, engaging, and insightful content. With a keen eye for trends and a deep understanding of health, presenting and exploring topics ranging from nutrition and mental health to sustainable living. This writing is solely intended to educate, inspire, and empower readers to live a healthier, more balanced life.