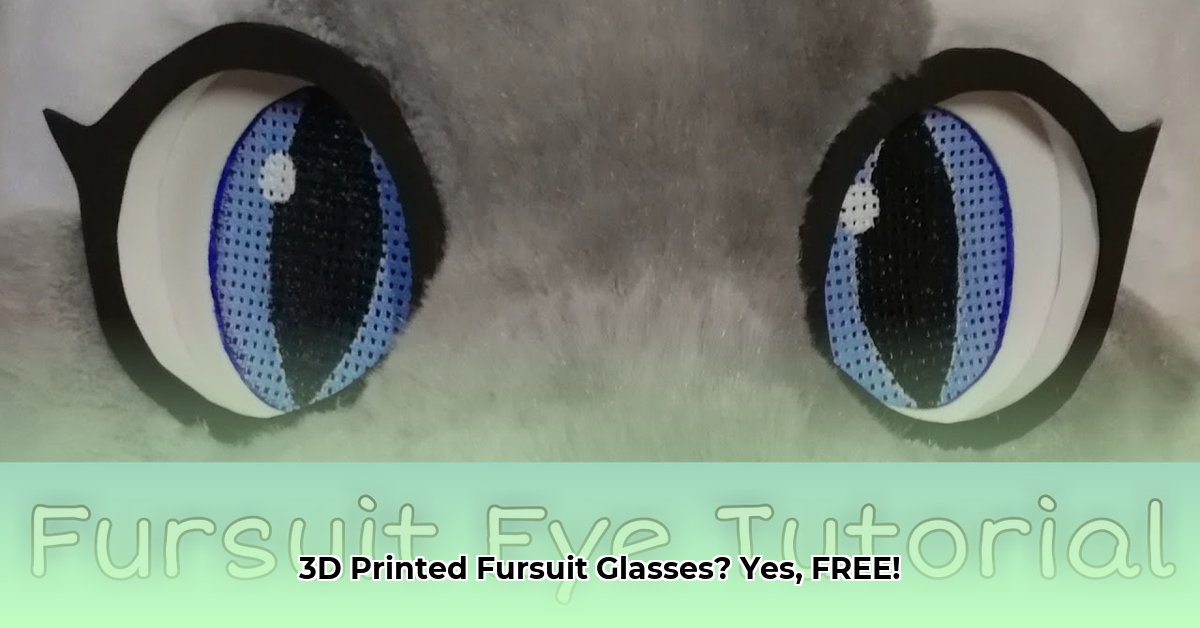
Want to give your fursona a unique, expressive gaze? 3D printed fursuit glasses offer unparalleled customization, allowing you to craft the perfect eyewear to match your character’s personality. This guide provides a comprehensive walkthrough, from selecting and customizing a model to printing, assembling, and adding those final, personalized touches. Whether you’re a seasoned maker or just starting your 3D printing journey, you’ll find everything you need to create stunning, custom fursuit glasses.
Choosing the right frame is crucial for achieving your desired look. Many excellent free and open-source models are available online, each with its own distinct style and customization potential. Here’s a curated selection to get you started:
Style
Features
Source (General)
License
Pros
Cons
Round
Customizable, Simple Assembly
Online Repositories
Usually Creative Commons
Classic, easy print & modify, versatile
Might be too simple for some characters
Boston
Customizable, Moderate Assembly
Online Repositories
Usually Creative Commons
Stylish, suits many faces
Slightly more complex assembly
Heart
Customizable, Moderate Assembly
Design Communities
Varies
Unique & expressive
May require fit adjustments
Octagonal
Customizable, Advanced Assembly
Design Communities
Varies
Edgy & eye-catching
More complex assembly
Simple Frame
Easy to assemble, minimal customization
Various
Check the Specific Model
Beginner-friendly, quick print
Fewer customization options
Remember to always double-check the licensing agreement for any model you download. While many are open-source, licensing terms can vary.
Customizing Your Design: OpenSCAD Tutorial
OpenSCAD is your digital workshop, allowing you to personalize your chosen model. This free software uses a code-based approach to 3D modeling, but don’t be intimidated! It’s surprisingly user-friendly.
Download and Install: Download and install the latest version of OpenSCAD from their official website.
Download Your Model: Download the .scad file for your chosen glasses style. Many can be found on platforms like Thingiverse and Printables.
Open in OpenSCAD: Open the .scad file in OpenSCAD. You’ll see the code defining the model.
Locate Parameters: Look for variables labeled as parameters. These control aspects like lens size, pupillary distance (PD), frame thickness, and bridge width.
Experiment!: Change the parameter values to see their effect on the model preview. OpenSCAD updates in real-time, making it easy to iterate.
Render (F6): Once you’re happy with your design, hit F6 to render a high-resolution preview.
Export STL (F7): Finally, export your customized model as an .stl file, ready for printing.
Printing Your Glasses
With your design finalized, it’s time to bring it to life!
Filament: PLA is a good starting point due to its ease of use. PETG offers greater durability and flexibility. Material choice can affect print settings, so some experimentation may be necessary.
Layer Height: 0.2mm provides a good balance between detail and print speed. Lower values yield smoother surfaces but increase print time.
Infill: 20% infill is typically sufficient for glasses. Higher infill increases strength but also weight and print time.
Support Structures: Some models may require support structures, especially those with intricate details or overhangs. Your slicer software will help determine if supports are needed.
Assembling Your Creation
Assembly often involves connecting multiple printed parts using screws, nuts, elastic cord, or magnets.
Gather Materials: Check the model’s instructions for specific hardware requirements (e.g., M3 screws and nuts). You’ll likely also need elastic cord or magnets for head attachment.
Lens Installation (if applicable): If your design includes separate lenses, carefully insert them into the frames before final assembly. Some makers prefer to use clear plastic sheets cut to size and glued in place.
Follow Instructions: Carefully follow the model’s assembly instructions. Many designers include helpful diagrams or even video tutorials. This is often the most intricate step, so patience is key.
Head Attachment: Secure the glasses to your fursuit head using elastic cord or magnets. The optimal method depends on your head’s construction and your preference for secure vs. quick-release attachment.
Finishing Touches
Now, add your personal flair!
Painting: Acrylic paints are a popular choice. Priming the surface before painting improves adhesion. Consider applying a sealant after the paint dries for protection and a polished look.
Details: Add glitter, rhinestones, or other embellishments to make your glasses truly unique.
Lenses: If not already added, insert or glue your lenses into the frames. Some makers experiment with tinted or even prescription lenses for added realism.
Troubleshooting
Warping: Ensure proper bed adhesion, adjust printing temperature, or enclose your printer to stabilize temperatures.
Stringing: Lower printing temperature or retraction settings.
Loose Parts: Double-check screw tightness or consider using a small amount of adhesive.
Remember, the 3D printing community is an invaluable resource. Don’t hesitate to seek advice on forums or from fellow makers.
Beyond the Basics
Advanced Customization: As your OpenSCAD skills grow, you can further modify models, even creating your own designs.
Electronics: Some makers integrate LEDs or other electronics into their glasses for added flair.
Alternative Materials: Experiment with different filaments for varied effects, such as translucent or flexible materials.
By following this guide and embracing experimentation, you can create fursuit glasses that perfectly embody your character’s personality. Share your creations and inspire others! The fursuiting community thrives on creativity and collaboration. Happy printing!
I am a writer specializing in health and lifestyle, committed to delivering well-researched, engaging, and insightful content. With a keen eye for trends and a deep understanding of health, presenting and exploring topics ranging from nutrition and mental health to sustainable living. This writing is solely intended to educate, inspire, and empower readers to live a healthier, more balanced life.