Tired of fumbling with chopsticks? 3D printing offers a solution! This comprehensive guide explores the world of “boosted chopsticks,” providing detailed instructions for printing, customizing, and maintaining these enhanced utensils. Whether you’re a gamer seeking precision or simply want a more comfortable grip, this article is your one-stop resource.
Boosted chopsticks offer improved grip, control, and personalized comfort. This isn’t just about easier eating; it’s about creating utensils tailored to your needs, whether for gaming, dining, or accessibility. Imagine lightning-fast reflexes translated into chopstick mastery or effortlessly snagging the last dumpling – that’s the promise of boosted chopsticks.
Chopstick Models: A Detailed Review
Marcosticks: The Ultimate Chopstick Ecosystem
Marcosticks provides a curated collection of 3D printable designs ranging from beginner-friendly training chopsticks to ergonomic models for advanced users. Their website is a treasure trove of information, emphasizing food safety and providing detailed documentation.
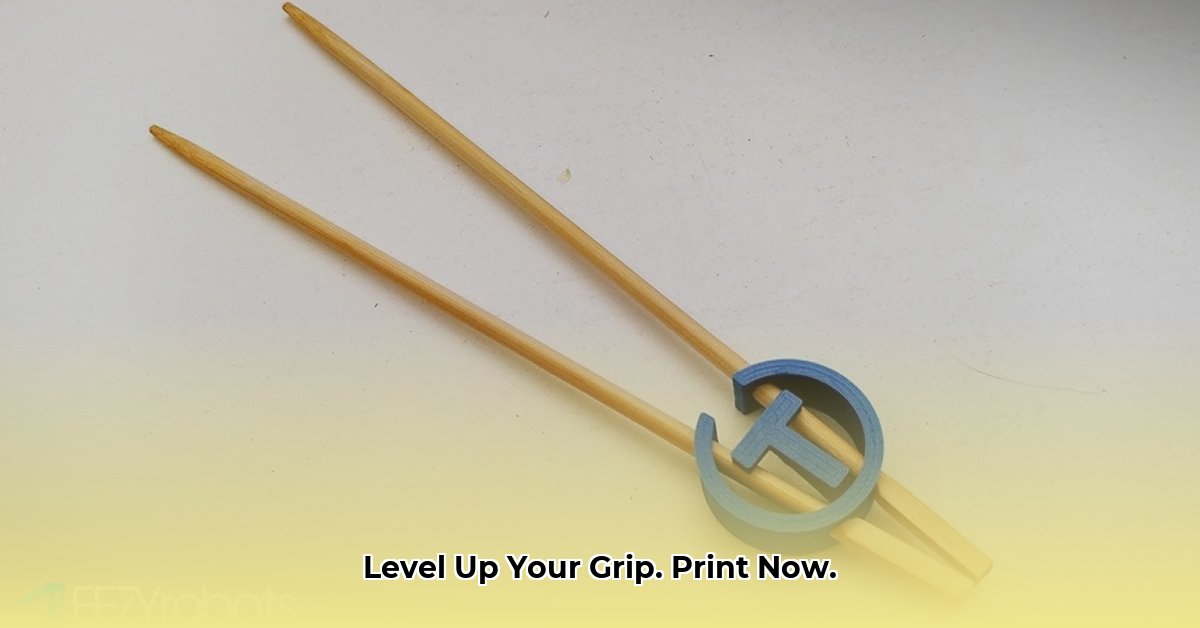
The Chopstick Helper, available on Printables.com, offers a simple yet effective upgrade for existing chopsticks. Its straightforward design provides enhanced stability and grip.
(Image of Chopstick Helper)
Features: Universal design, improved grip and stability.
Pros: Easy to print, quick print time, fits most chopsticks.
Cons: Limited customization.
Download: Printables.com Chopstick Helper (Find a relevant link)
Slicer Orientation: Print flat on the print bed (screenshot example).
Curated Public Designs: Unleash Your Creativity
Public repositories like Yeggi offer a diverse range of boosted chopstick designs. However, remember to carefully review each design’s license and user reviews, as quality varies.
(Images of curated Yeggi designs)
Features: Wide variety of creative and unique designs.
Pros: Large selection, often free, potential for unique finds.
Cons: Quality and documentation can be inconsistent.
Always consult the designer’s notes for recommended filament, printer settings, and post-processing instructions.
Chopstick Comparison: At a Glance
Feature
Marcosticks
Chopstick Helper
Custom Designs (Yeggi)
Complexity
Varies, can be complex
Simple
Varies
Customization
High
Low
High
Food Safety
High
Moderate
Varies
License
Mark-and-go
Check download page
Check individual designs
Print Time
Varies
~1 hour
Varies
Customization & Modification: Personalize Your Chopsticks
Take your chopsticks to the next level with CAD software. Tinkercad (beginner-friendly) or Fusion 360 (advanced) allow for personalized adjustments, textures, and ergonomic features.
Food Safety & Maintenance: Essential Tips
Use food-safe filaments (PLA, PETG), hand-wash regularly, avoid extreme temperatures, and consider a food-safe coating. Ongoing research suggests further advancements may be coming in the area of food-safe coatings, so keep an eye out for updates.
Community & Resources: Connect & Share
Share your experiences, modifications, and discover new designs within the 3D printing community. Online forums, social media groups, and maker spaces are great places to connect with other boosted chopstick enthusiasts.
Printing Detailed Guide: Marcosticks Edition
Focusing on Marcosticks, let’s break down the printing process:
Choosing Your Model
Marcosticks offers a diverse range. Consider your experience level: beginners might prefer the B1/B2 models, while seasoned users could explore more complex ergonomic designs. Consult their website for a feature comparison table.
Step-by-Step Printing Instructions
Filament: PETG is generally preferred for its durability and food-safe properties.
Download STL: Download your chosen design from Marcosticks.org.
Slicer Prep: Import into your slicer, orient flat on the print bed.
Settings: Marcosticks provides model-specific settings. Generally, start with 0.2mm layer height, 15-20% infill, 2-3 wall layers. Supports are likely unnecessary.
Printing: Start the print! Print time varies depending on model and settings.
Post-Processing: Remove from print bed, clean up any stray filament, and lightly sand rough edges.
Cleaning: Wash thoroughly with hot, soapy water.
Food Safety Considerations
While PETG is considered food-safe, be mindful of microscopic layers and crevices where bacteria could potentially harbor. Regular cleaning and sanitizing are essential.
Model Comparison: Expanded View
Model
Features
Pros
Cons
Print Time
Infill
Material
Further Considerations
Gaming V2
Textured grips, ergonomic
Enhanced grip, comfortable
May require supports, grip cleaning may be difficult
~2 hours
20%
PETG
Helper
Grip assist
Ideal for beginners, improves dexterity
Less suitable for experienced users
~1 hour
15%
PLA
PLA can be brittle, consider a food-safe coating
Custom
Limitless possibilities
Tailored to preferences
Requires CAD experience
Varies
Varies
Varies
Maintaining Your Chopsticks: Tips & Tricks
Cleaning: Hand-wash with warm, soapy water. Avoid dishwashers, as high temperatures could warp some filaments.
Storage: Store in a cool, dry place. An airtight container with desiccant is ideal for preventing moisture absorption, especially for PLA.
By following these guidelines and engaging with the 3D printing community, you’ll be well on your way to enjoying the benefits of custom-printed, boosted chopsticks! These enhanced utensils are more than just tools; they represent a future where technology meets everyday life, offering personalization and improved functionality.
I am a writer specializing in health and lifestyle, committed to delivering well-researched, engaging, and insightful content. With a keen eye for trends and a deep understanding of health, presenting and exploring topics ranging from nutrition and mental health to sustainable living. This writing is solely intended to educate, inspire, and empower readers to live a healthier, more balanced life.

")