Introduction: Taming PLA with the Stealthburner
The Stealthburner, renowned for its performance, presents unique opportunities and challenges when printing PLA. PLA’s lower melting point makes it susceptible to heat creep if cooling isn’t carefully managed. This guide provides a comprehensive overview of heatsink options for the Stealthburner, empowering you to achieve flawless PLA prints. We’ll cover everything from understanding heat transfer principles to advanced cooling strategies, ensuring your prints are crisp, clean, and free of warping, stringing, and other heat-related imperfections.
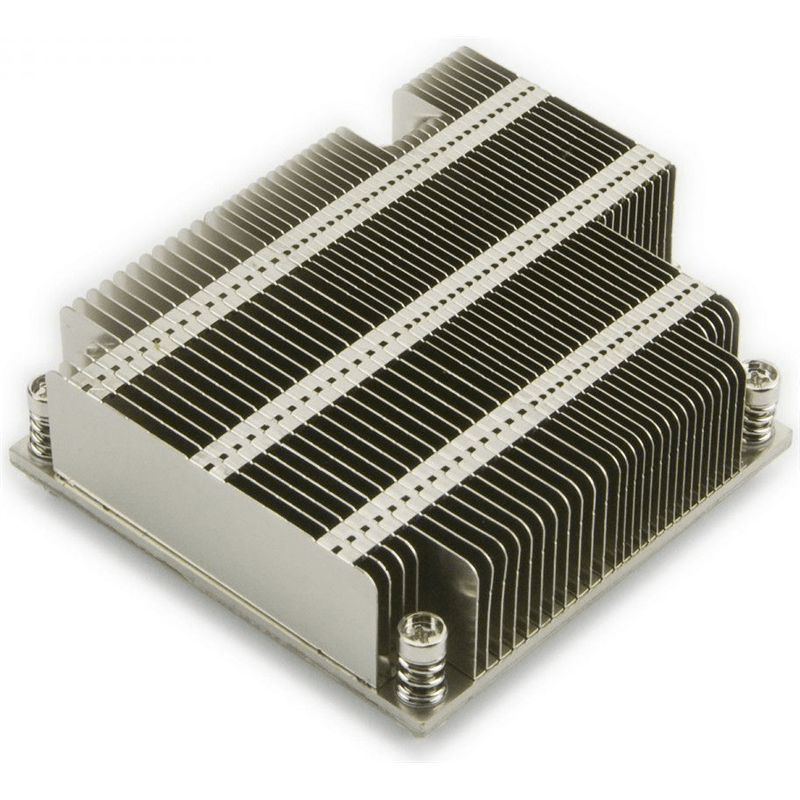
Heatsink Fundamentals: How They Work
Heatsinks are essential for thermal management in 3D printing. They function by drawing heat away from the hotend and dissipating it into the surrounding air. This prevents heat creep, which can soften filament prematurely and lead to a variety of printing issues. With PLA being more sensitive to temperature fluctuations than some other filaments, a well-chosen and properly installed heatsink is paramount.
Heatsink Options: Choosing the Right One for Your Stealthburner
Several heatsink options are available for the Stealthburner, each with its own set of characteristics.
| Heatsink Type | Material | Advantages | Disadvantages |
|---|---|---|---|
| Standard | Aluminum | Lightweight, good heat conductor, generally affordable, readily available. | Lower thermal conductivity compared to copper. |
| Copper | Copper | Excellent heat conductor, dissipates heat rapidly. | Heavier, more expensive than aluminum. |
| Bi-Metal | Copper/Aluminum | Combines the benefits of aluminum and copper, potentially optimizing weight and cooling. | Can be more challenging to machine or modify, potentially higher cost. |
| Plated Copper | Copper (plated) | Excellent thermal conductivity of copper with added corrosion resistance. | More expensive than bare copper, plating can degrade with thermal cycling. |
| Custom | Various | Tailored performance and aesthetics, potential for innovative designs. | Requires design and fabrication expertise, may involve specialized tools. |
Emerging materials and designs are constantly being developed. Staying active within the 3D printing community can provide insights into the latest advancements.
Heatsink Installation: A Step-by-Step Guide
Proper installation is crucial for maximizing heatsink effectiveness. While specific steps might vary slightly depending on the heatsink and Stealthburner version, the general process is as follows:
- Preparation: Gather the necessary tools (typically Allen wrenches) and high-quality thermal paste. Ensure your printer is powered off and cooled down before proceeding.
- Cleaning: Meticulously clean the mating surfaces of both the heatsink and the hotend. Even a small speck of dust can significantly impede heat transfer. Isopropyl alcohol and a lint-free cloth are ideal for this.
- Thermal Paste Application: Apply a small, pea-sized amount of thermal paste to the center of the hotend’s contact surface. The pressure from the heatsink will spread it evenly. Too much thermal paste can be counterproductive.
- Heatsink Mounting: Carefully align and place the heatsink onto the hotend. Secure it with the appropriate screws, tightening them evenly and firmly, but avoid overtightening.
- Fan Wiring (if applicable): Connect the fan wires, ensuring correct polarity. Consult your Stealthburner documentation for the specific wiring diagram. Incorrect wiring can damage your electronics.
Fan Configuration and Optimization
The Stealthburner’s dual-fan setup allows for precise cooling control. However, finding the optimal fan speeds requires some experimentation. Factors influencing fan speed include ambient temperature, filament brand, print speed, and the complexity of the print.
- Hotend Fan: This fan targets the heatsink itself, preventing heat creep. Start with the manufacturer’s recommended speed and adjust as needed.
- Part Cooling Fan: This fan cools the extruded PLA as it’s laid down. It’s vital for minimizing warping and stringing. Again, begin with the recommended settings and fine-tune based on your observations.
Software like Klipper allows for advanced fan control, enabling dynamic adjustments based on real-time printing conditions.
Troubleshooting Common PLA Printing Issues
Even with a well-configured Stealthburner, issues can sometimes arise. Here are a few common PLA printing problems and potential solutions:
- Heat Creep: Symptoms include nozzle jams and inconsistent extrusion. Potential solutions: increase hotend fan speed, lower printing temperature, ensure proper heatsink installation.
- Warping: Lifting or curling of print edges. Potential solutions: increase part cooling fan speed, lower printing temperature, improve bed adhesion (using glue stick, hairspray, or other adhesion promoters), enclose the printer to stabilize ambient temperature.
- Stringing/Oozing: Thin strands of plastic between printed features. Potential solutions: adjust retraction settings (distance, speed), increase minimum layer time, lower printing temperature, or try a different PLA filament.
- Clogs: Obstructed filament flow. Potential solutions: perform a cold pull, replace the nozzle, increase hotend temperature (temporarily), check for filament grinding.
Advanced Cooling Strategies
For those seeking to push the boundaries of cooling performance, consider these advanced techniques:
- Custom Heatsink Designs: Design and fabricate a heatsink tailored to your specific needs. This allows for optimization of fin geometry, material choice, and overall cooling efficiency.
- Integrated Cooling Ducts: Design and print ducts to direct airflow precisely where it’s needed, improving cooling effectiveness and potentially reducing noise.
- Liquid Cooling: Implement a liquid cooling system for extreme cooling capacity. This is a more complex modification but offers significant potential for performance gains.
Community Insights and Resources
The Voron community is an invaluable resource for information and support. Forums, Discord servers, and GitHub repositories are filled with user experiences, modifications, and troubleshooting advice. Don’t hesitate to engage with the community and share your own findings.
Conclusion: Achieving PLA Perfection
Optimizing your Stealthburner for PLA printing involves a combination of selecting the right heatsink, ensuring proper installation, configuring fans effectively, and troubleshooting any issues that arise. By following the guidelines in this guide and leveraging the knowledge of the Voron community, you can achieve consistently high-quality PLA prints with sharp details, smooth surfaces, and minimal imperfections. Remember that ongoing research and development in 3D printing mean that new techniques and technologies are continually emerging. Stay curious, keep experimenting, and enjoy the process of refining your setup!

- 5 Minute Night Meditation for Better Sleep and Less Anxiety - July 21, 2026
- 5-Minute Evening Meditation for Calmer Nights and Deeper Sleep - July 20, 2026
- 5 Minute Meditation Before Bed to Unwind for Better Sleep - July 19, 2026